

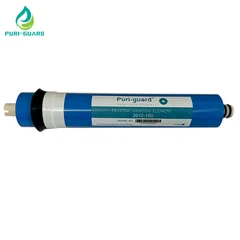
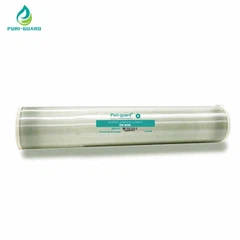
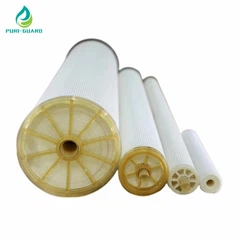
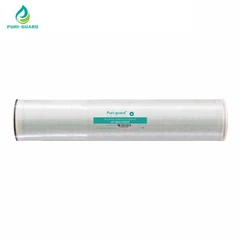
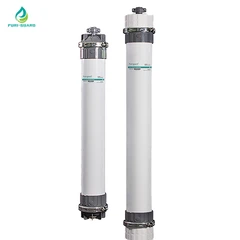
💧Want to replace RO reverse osmosis membrane by yourself, but worried about not being able to do it? Don't worry, follow my steps, it's easy to do, and you can save a lot of money! Today, let's reveal the correct installation method of RO reverse osmosis membrane~
🧰Important preparation before installation
Recording the position and number of the membrane element is a delicate job. You must ensure that the "identity" of each pressure vessel and membrane element is clear. Preparing tools is also key. Safety rubber boots, rubber gloves, pliers, glycerin, clean cloth, and top support are all necessary. These are all my "right-hand men" to make the installation process smoother.
🔧Steps to remove the old membrane element
First, give the pressure vessel a "baptism" and rinse the end plates and inner walls at both ends with clean water. According to the manufacturer's "secrets", remove the end plates step by step. Remember to put the removed parts numbers away and don't mix them up. Next, just like drawing a sword, push out the old membrane elements one by one along the water inlet direction, catch them steadily, and put them aside for use.
📦Installation process of new membrane elements
Before installation, you need to do a "physical examination" to check whether the upstream pipeline is clean, and then use reverse osmosis water to "deep clean" the pressure vessel. The new membrane element is here! Take it out carefully and check the direction and position of the brine seal ring to ensure that it is not misaligned or twisted. Just like a puzzle, push the membrane elements into the pressure vessel one by one and apply glycerin to ensure sealing. Don't forget to adjust the axial clearance so that the membrane elements are "tightly dependent on each other".
⚠️Installation precautions
Pay attention to the direction of the membrane element during installation, and don't install it upside down. Glycerin is a "lubricant" and must be applied to ensure sealing. After installation, don't rush to turn on the water. Check it first and confirm that it is correct before connecting the power supply and water source. For the first use, remember to let the water purifier "take a bath" and rinse it thoroughly for a few minutes to ensure the water quality is pure.